


Artical
Categories
Related Articles

How to Do Nail Art at Home Step by Step Using Simple Nail Art Supplies
Nail art at home is easier than most beginners think. You don’t need expensive salon tools or professional training to create beautiful nails. With simple nail art supplies and the right steps, anyone can achieve clean, stylish nail designs at home.
This step-by-step guide is perfect for beginners who want to learn how to do nail art at home using easy tools and simple techniques.
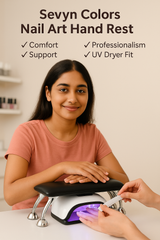
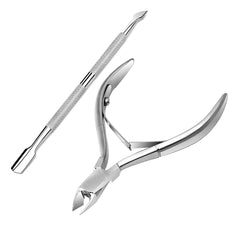
What You Need Before Starting Nail Art at Home
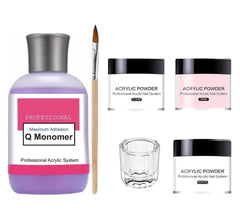
Before you begin, keep these basic nail art supplies ready:
- Nail file and buffer
- Base coat and top coat
- Nail polish or gel polish
- Dotting tool or toothpick
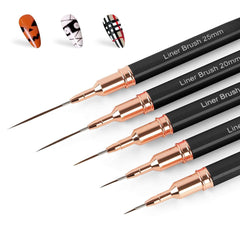
- Nail art brush (basic)
- Nail art stickers or glitter (optional)
These tools are affordable and beginner-friendly.
Step-by-Step Guide: How to Do Nail Art at Home
Step 1: Clean and Shape Your Nails
Remove old polish, clean your nails, and shape them using a nail file. Buff lightly to create a smooth surface.
👉 Clean nails help polish last longer.
Step 2: Apply Base Coat
Apply a thin layer of base coat and let it dry completely.
This protects your natural nails and improves polish adhesion.
Step 3: Apply Nail Polish or Gel Polish
Apply one or two thin layers of your chosen nail polish color.
Let each layer dry properly before moving to the next step.
💡 Tip: Thin layers give a smoother finish.
Step 4: Create Simple Nail Art Designs
Now the fun part begins! Use simple techniques like:
- Dot designs using a dotting tool or toothpick
- Stickers for quick nail art
- Glitter accent nails
- Simple line designs using a thin brush
Keep designs minimal if you’re a beginner.
Step 5: Let the Design Dry Completely
Patience is important. Allow enough time for the design to dry to avoid smudging.
Step 6: Apply Top Coat
Seal your nail art with a top coat.
This adds shine and increases the life of your nail art.
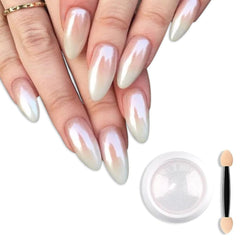
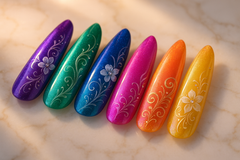
Easy Nail Art Designs Beginners Can Try at Home
- Polka dot nail art
- Two-color nail art
- Floral dot designs
- Glitter tips
- Minimal line nail art
These designs require basic tools and are perfect for practice.
Common Mistakes to Avoid While Doing Nail Art at Home
- Skipping base or top coat
- Using too much polish
- Rushing the drying process
- Trying complex designs too early
- Using low-quality nail art supplies
Avoiding these mistakes improves results and durability.
Nail Art at Home vs Salon Nail Art
Nail art at home is ideal for:
- Personal grooming
- Beginners learning nail art
- Budget-friendly beauty care
Salon nail art is better for advanced and professional designs. Many nail artists start learning at home before going professional.
Final Thoughts
Learning how to do nail art at home step by step is simple when you use the right supplies and follow basic techniques. With practice and patience, you can create beautiful nail art designs without visiting a salon.
Start simple, enjoy the process, and slowly upgrade your nail art skills at home.